

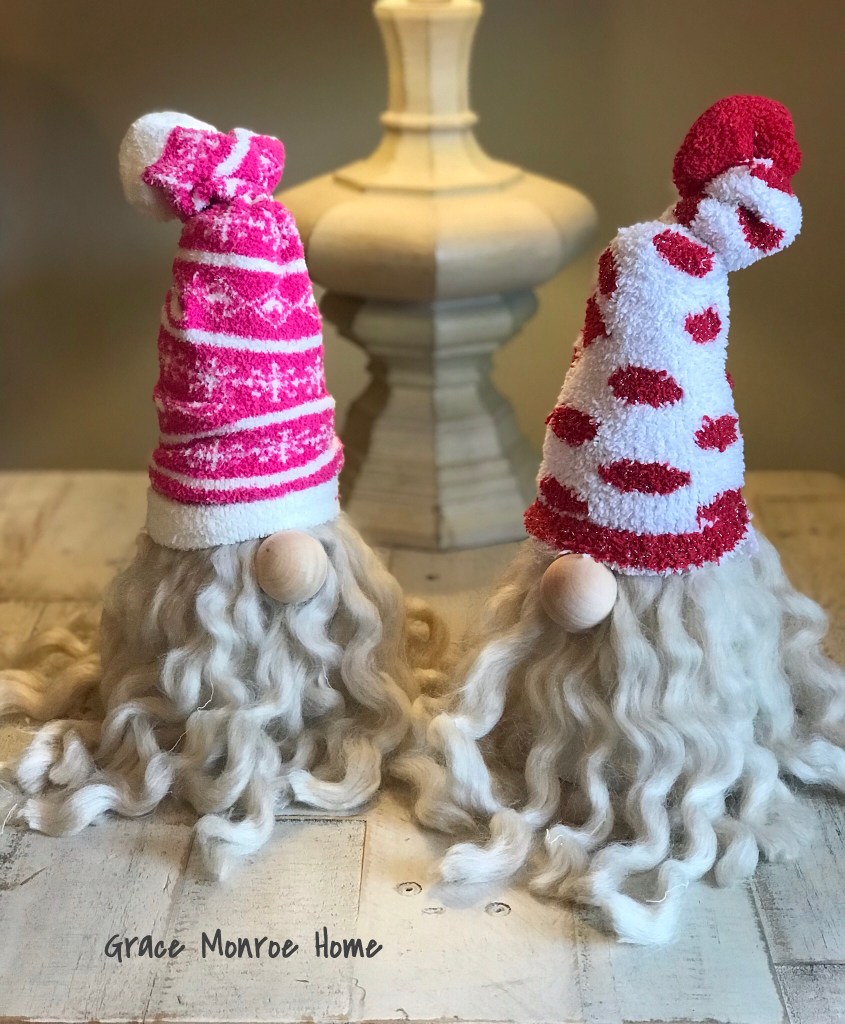
You can make these little DIY Gnomes for Christmas for around $5. They are so adorable and very easy to make! You only need a few materials and they make such a fun and festive addition to holiday decor. *Some links in this post may lead to websites where we are an affiliate. Click [HERE] for our disclosure statement.*
What You Need to Make a DIY Gnome:
- Foam Cone
- Chunky Yarn
- Sock
- Scissors
- Wood Knob
- Glue Gun
- Glue Sticks
- Small Elastic Hair Band or Rubber Band

Watch Our How to Make an Easy DIY Gnome Video Below
INSTRUCTIONS:
STEP ONE: Measure and cut your yarn. We cut ours in 7 inch sections.
STEP TWO: Pull the strands of each section of yarn apart. Each section of yarn will have four separate strands. You will end up with a big pile of yarn strands.
STEP THREE: Glue Strands of Yarn to the Foam. Place a dot of hot glue onto the foam, about 2-3 inches from the top of the cone, and press the yarn down onto the glue, hold down for a few seconds to make sure that the yarn holds. (Be careful not to burn yourself!) Continue gluing pieces of yarn all the way around the cone.
STEP FOUR: Place the sock down onto the cone. We placed our sock about half-way down the cone, then tied an elastic band around the top of the sock to make a little “ball”.
STEP FIVE: Glue on the wood knob. Place the wood knob directly under the rim of the sock “hat” to make it look toke a nose.
STEP SIX: Find any holes that you may have where you can see the foam and glue on extra yarn, and trim any pieces of yarn the are too long. You want your gnome’s “hair” to extend about 2 inches past the cone.

Be sure to follow Grace Monroe Home on FACEBOOK, PINTEREST, and INSTAGRAM. 🙂
If you enjoyed this post, you may also like:


While I appreciated the video, there aren’t any specific dimensions given for the gnomes. What size is the foam cone? What size is the wooden ball? Those would be very helpful before going out to purchase the materials. Where do you find fuzzy socks? Thanking you in advance.
I buy my fuzzy socks at dollar tree. I get my noses from hobby lobby in the doll house section or I use Small wooden eggs.